Paint by Numbers Online: Create Beautiful Artwork with Ease
Welcome to the ultimate destination for paint by numbers enthusiasts! We offer premium quality numbered painting kits that transform anyone into an artist, regardless of previous experience. When you purchase from our online collection, you're investing in hours of creative enjoyment and stunning results that you'll be proud to display. Our carefully curated selection features designs for every taste and skill level.
The Best Digital Painting Kits for Adults

Why Our Paint by Numbers Kits Stand Out
Our premium materials enhance your painting experience:
- Wrinkle-free canvas with clearly printed numbers
- High-quality acrylic paints with excellent coverage
- Fine-tipped brushes designed for precise application
- Access to one of the largest design libraries available online
No color mixing required—we've done the work for you with perfectly matched colors that bring your artwork to life.

Custom Photo Painting Kits: Turn Your Images into Art
Transform cherished memories into stunning artwork with our custom photo-to-canvas service. Simply upload your favorite image, and we'll convert it into a personalized painting kit delivered to your door.
Perfect for:
- Preserving vacation memories
- Creating unique portraits of loved ones
- Commemorating special pets
- Designing meaningful gifts
Our Customers Love Us
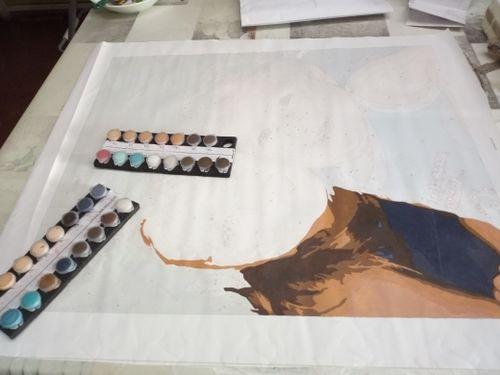
Elmira Legros
CUSTOM Paint by Numbers Kits
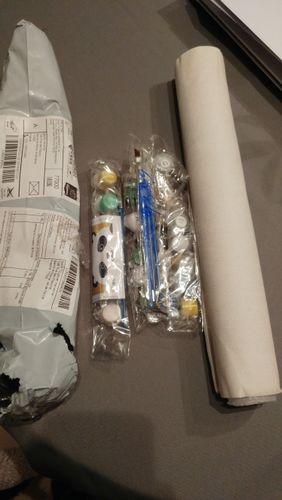
Coty McKenzie
Arrived in time and exactly as described. A paper version and a canvas version. A panda as a gift. It remains only to paint
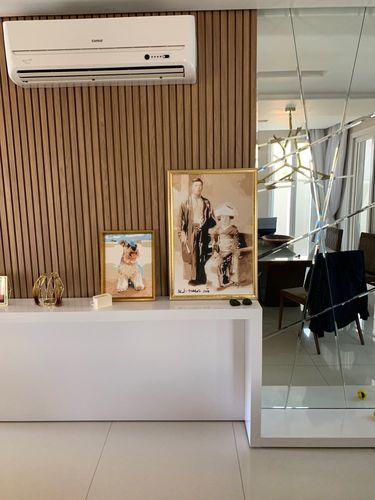
Viviane Rogahn
Perfect
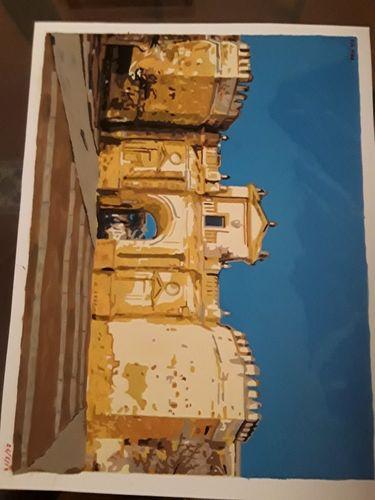
Astrid Hermann
CUSTOM Paint by Numbers Kits
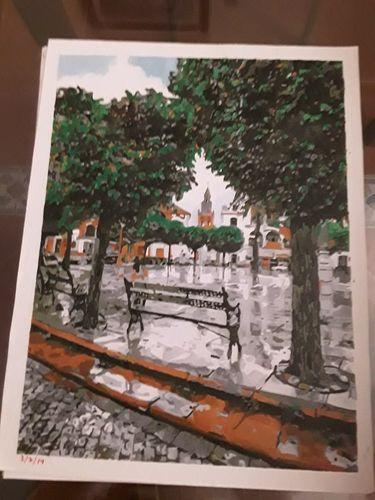
Raegan King
Everything perfect and good communication
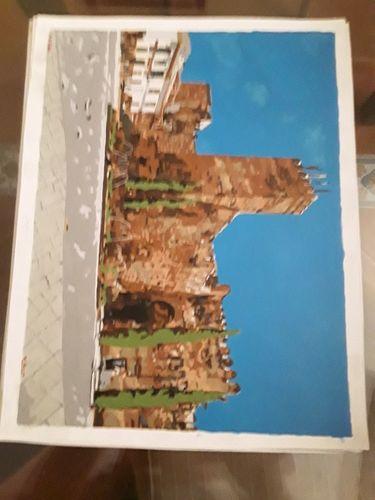
Joel Lind
All OK and good seller
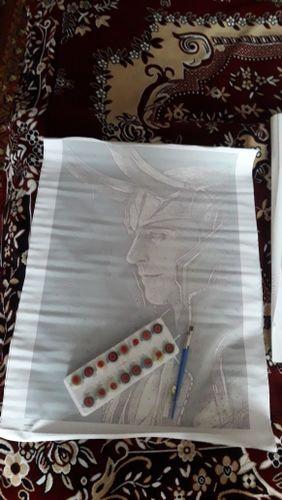
Citlalli Kihn
Packed perfectly, the paints are fresh, the picture on the canvas is good, the numbers are all well visible. Quality is better than other sellers. The seller is very responsive. I will definitely order more.
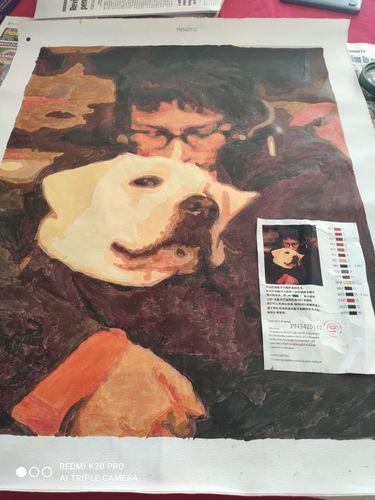
Neharika S.
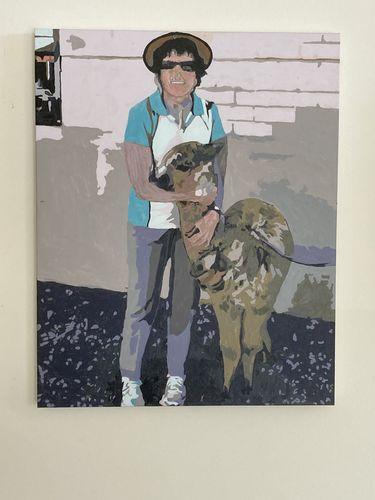
This is my 6 th order. Love the personal canvas that becomes a lovely painting!
Neil M.
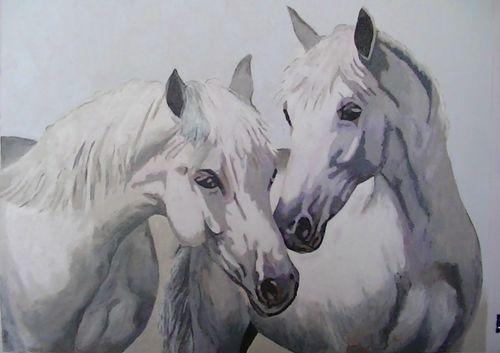
Good pricing quick service and good product. Well done
May M.
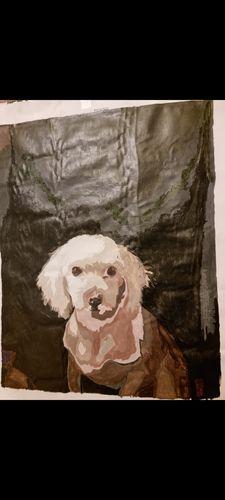
I am very happy with your Paint By Numbers Kits. Also the promptness of orders.
Martha D.
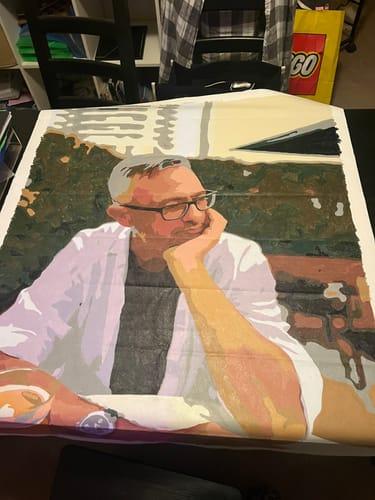
Great painting. Exactly like his photo. Really easy to paint. Thank you.
Carla L.
The paint by numbers canvas was a very therapeutic way of keeping busy whilst remembering the good times.
Levonne M.
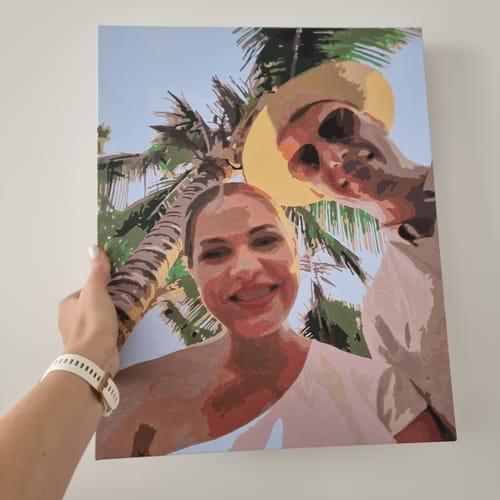
Turned out so good. Some of the paints were a little thin, but I am very with the end result. Will be ordering more!👌
FRESH FROM OUR BLOG
Tips and tricks for paint by numbers aficionadosFREQUENTLY ASKED QUESTIONS
What is Paint by Numbers?
Paint by numbers is a creative hobby where a picture is divided into shapes, each marked with a number that corresponds to a specific color. You paint in each shape and ultimately the picture emerges as a finished painting.
What Materials Do I Need to Start?
A typical paint by numbers kit includes a pre-printed canvas marked with numbers, small pots of paint in the required colors, and one or more paintbrushes. You might also want a cup of water for rinsing brushes and a cloth for wiping.
How Do I Begin a Paint by Numbers Project?
Start by setting up a comfortable workspace with good lighting. Lay out your canvas and organize your paints. It's often recommended to start painting from the top of the canvas and work your way down to avoid smudging.
Which Paint Color Should I Start With?
It's generally easier to start with either the darkest colors or the largest areas. This can help provide a framework for the rest of your painting.
How Do I Prevent the Paint from Drying Out?
Keep the paint pots closed when not in use. If the paint does start to dry, adding a tiny amount of water can sometimes help revive it.
Can I Mix the Paints to Get More Shades?
Yes, you can mix colors if you feel comfortable doing so. It allows for more creativity but is not necessary for most kits.
Some more information about us
The Benefits of Paint by Numbers
Our painting kits offer advantages that enhance both your creative experience and final results:
Stress Reduction: The focused nature of numbered painting provides a calming escape from daily pressures. Many customers describe their painting sessions as "meditative" or "therapeutic."
Improved Focus: Matching numbers and applying precise brushstrokes engages your brain in a way that enhances concentration and mindfulness.
Accessible Art: This system removes barriers to artistic creation, allowing everyone to create beautiful artwork regardless of natural talent or training.
Digital Detox: Enjoy a break from screens with the tactile experience of brush, paint, and canvas—a welcome respite in our technology-dominated world.
Custom Décor: Create unique art that reflects your personal style and enhances your home at a fraction of the cost of gallery pieces.
Getting Started: Your First Painting Kit
Transform your blank canvas into a masterpiece with these easy steps:
1. Prepare Your Space:
- Choose a well-lit area with minimal distractions
- Cover your workspace to protect from accidental spills
- Arrange materials within easy reach
2. Organize Your Supplies:
- Arrange paint pots numerically for easy reference
- Unwrap your canvas and flatten if needed
- Review the reference image to understand the big picture
3. Develop a Painting Strategy:
- Start with larger areas of a single color
- Work from top to bottom to avoid smudging
- Complete one section at a time for visible progress
Premium Materials in Every Kit
Our painting kits include:
- Pre-stretched canvas that lies flat without wrinkles
- Fade-resistant acrylic paints for vibrant, lasting colors
- Specialized brushes for different detailing needs
- Convenient paint holders to prevent spills
- Detailed instruction guide with helpful tips
Painting Kits for Every Skill Level
Whether you're a first-time painter or an experienced artist, our selection offers appropriate challenges:
Beginner Collection: Features larger numbered areas and fewer colors that build confidence while creating beautiful artwork.
Intermediate Series: Balanced complexity with satisfying detail for developing painters looking to refine their skills.
Advanced Gallery: Intricate designs with smaller numbered areas and more colors for those seeking a creative challenge.
Classic and Contemporary Designs
Our catalog spans various artistic styles:
Master Artist Series: Recreate famous works by Leonardo da Vinci, Van Gogh, Monet, and other legendary painters. Experience the joy of creating your own version of art history's greatest treasures.
Contemporary Collection: Modern designs featuring vibrant abstracts and current artistic trends that add a fresh, stylish touch to any space.
Seasonal Specials: Limited-edition kits that celebrate holidays and changing seasons, perfect for creating timely décor or gifts.
The Complete Creative Experience
When you purchase from our store, you're investing in a complete artistic journey:
- Select your design from our extensive gallery
- Receive your carefully packaged kit with premium materials
- Open your kit to find a pre-printed canvas with clearly numbered areas
- Experience the calming focus of methodical painting
- Display your completed masterpiece with pride
How to Choose Your Perfect Kit
Finding your ideal match depends on several key factors:
By Experience Level:
- First-time painters: Look for our "Beginner-Friendly" labeled kits
- Some artistic experience: Explore our "Intermediate" collection
- Confident painters: Try our "Advanced" series
By Time Commitment:
- Small canvases (8x10") typically require 8-12 hours
- Medium canvases (12x16") usually take 15-20 hours
- Large canvases (16x20" and larger) can require 25+ hours
Join Our Creative Community
Become part of a growing community of paint by numbers enthusiasts. Share your progress, exchange tips, and celebrate completed masterpieces with fellow artists of all skill levels. Many members find this social aspect adds another dimension of enjoyment to their painting experience.


